maverick-o'-lantern
I thought I was crazy for attempting last year's jack-o'-lantern with the Wicked logo. But if that was crazy, I should be downright committed to a mental hospital this year.
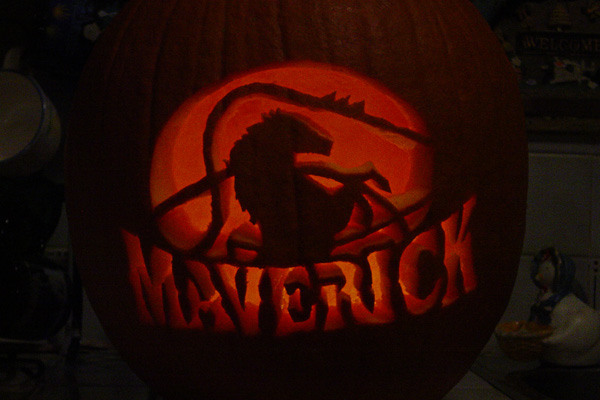 At left is my latest creation: the Maverick-o'-lantern (click for a larger image). Maverick, as you might recall from earlier blog posts, was Cedar Point's new roller coaster for 2007, and happens to be my #2 favorite ride, behind Millennium Force. In a spark of insanity, I decided to carve the Maverick logo into a pumpkin. My dad referred to me as "the pumpkin surgeon" for this. Perhaps "mad doctor" would be more accurate.
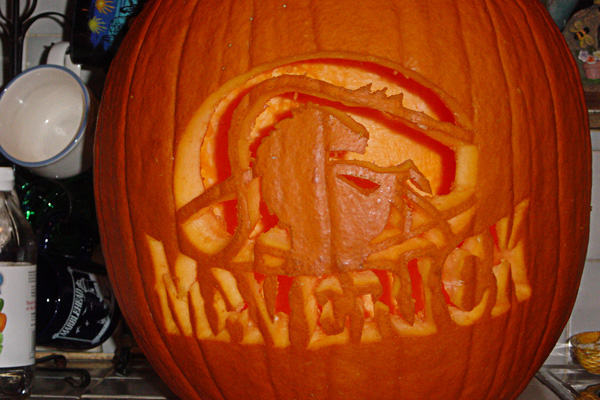 First I downloaded a Maverick wallpaper from Cedar Point's website, brought it into Photoshop, and selected the letters and horse figure. I added an oval behind the horse in order to keep it in silhouette. The arc going through its neck is a rope, but I couldn't figure out how to make a carving look like rope, so I came up with a better idea: a silhouette of the coaster track! Somewhere else on Cedar Point's site I found just the right photo of the ride, showing a train going over the lift hill. You'll note I moved the train back down the hill a bit to make it more recognizable and the image less cluttered. Unfortunately I wasn't quite detailed enough in my carving to show both seats in the cars in stadium-style arrangement. Ah well.
After converting my Photoshop selection to a work path, I brought the path into Illustrator so I could scale it up to the size I needed, then printed it out. Since I had already sketched the coaster track on paper, it was easier to just re-draw it on the large printout than try to draw the paths in Illustrator. I then taped the paper to the pumpkin and used an awl to poke holes, tracing the lines.
And now the obvious question: How long did this take? The awl-poking alone took half an hour. It took 45 minutes to carve just the horse/track picture, then an additional hour for the letters. This was all done with a simple cheapo pumpkin carving knife from the grocery store.
I remembered the technique I learned from the Wicked carving: Cut at an angle into the piece you're removing. Once it's out of the way, go back at the other angle to remove some of the inside thickness of the pumpkin. It helps to think of the skin of the pumpkin as a 2-D surface that creates the image, while the openings allow light to pass, and sometimes that requires shaving some of the walls in order to get more illumination and contrast.
I also do a lot of tweaking in the same manner so that the picture is clear when viewed from the intended, straight-on angle. I had to do a lot of finagling with the "K" to make it look right. And just from a logistical standpoint, the uppermost section of track was too heavy to support itself and was resting on the horse's head, so I had to carefully shave some pumpkin off the back of that piece so it would float, in addition to angling the wall behind the horse's head downward to allow even more light through (and thus create the illusion of more space).
Was it worth 2 hours? Meh, I suppose. Do I have too much time on my hands? Absolutely not! I certainly had more important things I could/should have been doing. But in spite of that, I'm willing to give up some time once a year to carve a nice pumpkin. Unfortunately, this year's design raises the bar, so I'm a little scared of what I might come up with for next year...

1 Comments:
Bryan - oh please may I use th picture of your pumpkin for my radio show?
I was searching for the perfect maverick graphic and your' is just right.
BJ@free-US-Now.com
Post a Comment
<< Home